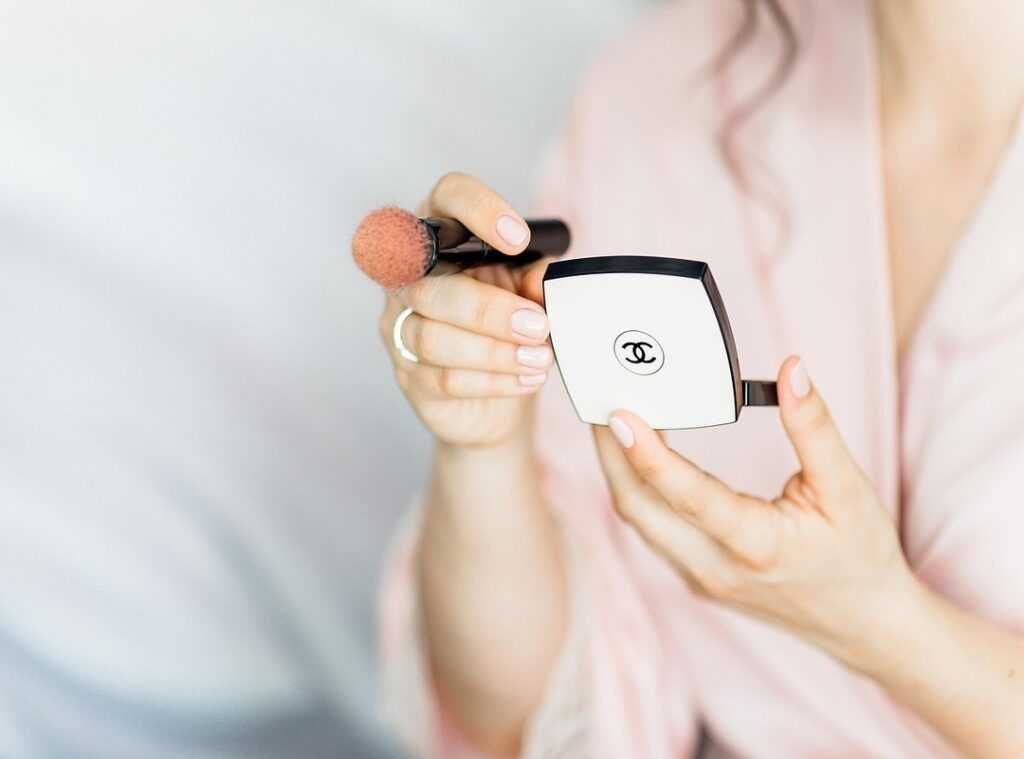
Let’s be real: contouring can feel like rocket science. Who hasn’t stood in front of the mirror, brush in hand, wondering if they’ve just smeared dirt on their face instead of achieving the perfect contour? I’ve been there, and trust me, it’s not fun.
You want to look sculpted, not streaky. this flawless contouring tutorial comes in.
We all crave that chiseled, camera-ready look. But how do you get it without spending hours or ending up with a muddy mess on your face? This guide will walk you through it.
I’ve gathered takeaways (yes, from actual makeup pros) to make sure you look your best without the headache.
You’ll learn which products work best and how to apply them like a pro. No more guessing games. Whether you’re heading to a big event or just want to up your everyday game, this tutorial’s got you covered.
Ready to transform your look?
Contouring: Beyond Lines to Dimension
Contouring isn’t just about drawing lines on your face. It’s about creating dimension. Think of an artist using shading to turn a flat circle into a 3D sphere.
That’s the magic at play here. Contouring sculpts your face with cool tones, mimicking natural shadows. It’s not the same as bronzer, which warms your skin where sunlight naturally hits.
Most people get caught up in the techniques, but here’s the secret: understand the “why.” When you know why contouring works, the “how” becomes smooth. Forget what the so-called experts say about sculpting. It’s not about copying their methods but understanding the core concept.
Want to dive deeper into makeup mastery? You might find this guide useful. It explores another makeup art form that can complement your contouring skills.
Remember, a flawless contouring tutorial isn’t about complicating things. It’s about simplifying and knowing the right tricks to achieve that natural look.
Cream vs. Powder: The Contour Conundrum
Choosing between cream and powder for contouring can feel like picking a side in a never-ending debate. I get it. Cream products give you that dewy, natural finish.
They’re perfect if you’ve got dry or normal skin. Why? They blend seamlessly and hydrate while they sculpt.
But don’t reach for them if your skin’s prone to oil slicks.
Powder, on the other hand, is your go-to for a matte, long-lasting finish. It’s ideal for oily or combination skin. You’ll find it holds up better throughout the day without slipping off your face.
But it can sometimes look a bit flat if you don’t blend well.
Finding the right contour shade is key. Go for something 1-2 shades darker than your foundation. And remember: cool or neutral undertones are key.
Anything too warm or orange will make you look like a bad spray tan.
Here’s a pro tip: do a swatch test. Test shades on your jawline or inner wrist. you’ll see how they really blend with your skin tone.
Don’t forget your tools. An angled contour brush is important for precise application. A fluffy blending brush (or a damp beauty sponge) ensures smooth blending.
And keep a smaller precision brush on hand for those tricky areas like your nose.
Want more tips for a flawless finish? Check out this flawless contouring tutorial to perfect your technique.
Map Your Features: Contouring for Your Face Shape
Ever stared at all those contouring tutorials and thought, “Where do I even start?” You’re not alone. In this flawless contouring tutorial, I’ll guide you through how to identify your face shape and apply contour like a pro. Let’s start by figuring out if you’re oval, round, square, heart, or long-faced.

Check your forehead, cheekbones, and jawline. Got it? Let’s move on.
For a round face, the mission is angles. You want to create some definition. Apply contour to your temples, under the cheekbones (draw towards the corner of your mouth), and along the jawline.
This adds depth and sharpness, giving your face structure. Trust me, it’s a game-changer.
Square faces, listen up. You want to soften those angles. Start by contouring the temples and under the jawline.
Round out the corners a bit. The goal is to create a softer, more delicate look. It’s all about balance.
Heart-shaped faces have their own unique charm. The forehead is usually wider, and the chin is narrower. You’ll want to contour along the sides of your forehead and temples.
Don’t forget just under the cheekbones. This helps balance everything out, making the face appear more symmetrical.
Oval faces, you’re already blessed with balance. Lucky you. Apply contour lightly just under the cheekbones.
This enhances your natural structure without overdoing it. Sometimes less is more, right?
Now, for the long face. You want to create the illusion of width. Contour along the hairline and under the chin.
This shortens the appearance of your face. It’s all about creating proportion.
And while you’re perfecting your contour, why not explore creating dramatic eye looks ease? It could complement your new contouring skills perfectly. Imagine pairing a perfectly contoured face with striking eyes.
Just a thought.
So, does contouring really work? Yes, when done right. It’s all about enhancing what you’ve got, not masking it.
Remember, practice makes perfect. Don’t be afraid to experiment. It’s makeup, not rocket science.
Flawless Contouring Tutorial: Your Face, But Better
So you want that sculpted look? Start by prepping your base. Seriously, don’t skip this.
Foundation and concealer should already be on your face, like a blank canvas.
Step 1: Placement. Use a small amount of product. You can always add more, but it’s hard to take away. Dot or lightly swipe the product onto the areas you want to contour. You know, those spots you’ve mapped out before. Keep it light. No one wants a face that looks like a map of the world.
Step 2: The Art of the Blend. Blend upwards and outwards with a damp sponge or brush. This is key. It lifts the face and avoids that dreaded droopy look. Avoid muddiness by using gentle tapping or stippling motions. No aggressive rubbing (you’re) not trying to erase your face.
Step 3: Complement with Highlight. Hit those high points: cheekbones, brow bone, bridge of the nose. This will make your contour pop. It’s like the cherry on top of your makeup sundae.
Step 4: Set Your Look. Finish with a light dusting of translucent powder. This step ensures your work isn’t wasted by lunchtime. Trust me, you’ll thank yourself later when everything stays put.
And there you have it. A flawless contouring tutorial that doesn’t require a master’s degree in art. So grab your brushes and go paint your masterpiece.
You got this.
Master the Art of Makeup
You’ve reached the end of your search. That fear of looking unnatural and messing up your contouring? Gone.
With this flawless contouring tutorial, you’re armed with everything you need. Understanding shadow play, picking the right products, and mapping to your face shape (it’s) all here. It works because it’s simple and tailored to you.
Why wait? Grab your makeup now, follow the steps, and practice. You’ll see results.
And when you’re ready, dive into more tutorials or skincare guides to perfect your base. You deserve to feel confident every day. Don’t let hesitation hold you back.
Ready to transform your look? The power’s in your hands. Start now.
Amaze yourself. You’re closer to mastering makeup than you think.

 Anna P. is the kind of writer who genuinely cannot publish something without checking it twice. Maybe three times. They came to skincare trends and innovations through years of hands-on work rather than theory, which means the things they writes about — Skincare Trends and Innovations, Spotlight Stories, Zosis Pro Makeup Techniques, among other areas — are things they has actually tested, questioned, and revised opinions on more than once.
That shows in the work. Anna's pieces tend to go a level deeper than most. Not in a way that becomes unreadable, but in a way that makes you realize you'd been missing something important. They has a habit of finding the detail that everybody else glosses over and making it the center of the story — which sounds simple, but takes a rare combination of curiosity and patience to pull off consistently. The writing never feels rushed. It feels like someone who sat with the subject long enough to actually understand it.
Outside of specific topics, what Anna cares about most is whether the reader walks away with something useful. Not impressed. Not entertained. Useful. That's a harder bar to clear than it sounds, and they clears it more often than not — which is why readers tend to remember Anna's articles long after they've forgotten the headline.
Anna P. is the kind of writer who genuinely cannot publish something without checking it twice. Maybe three times. They came to skincare trends and innovations through years of hands-on work rather than theory, which means the things they writes about — Skincare Trends and Innovations, Spotlight Stories, Zosis Pro Makeup Techniques, among other areas — are things they has actually tested, questioned, and revised opinions on more than once.
That shows in the work. Anna's pieces tend to go a level deeper than most. Not in a way that becomes unreadable, but in a way that makes you realize you'd been missing something important. They has a habit of finding the detail that everybody else glosses over and making it the center of the story — which sounds simple, but takes a rare combination of curiosity and patience to pull off consistently. The writing never feels rushed. It feels like someone who sat with the subject long enough to actually understand it.
Outside of specific topics, what Anna cares about most is whether the reader walks away with something useful. Not impressed. Not entertained. Useful. That's a harder bar to clear than it sounds, and they clears it more often than not — which is why readers tend to remember Anna's articles long after they've forgotten the headline.