If you’ve been searching for ways to elevate your makeup routine, master flawless sculpting, or understand what truly makes features stand out on camera and in person, you’re in the right place. This article is designed to break down the artistry behind contour and highlight techniques, helping you move beyond trends and into techniques that actually work for your face shape and skin type.
With beauty trends evolving rapidly across runways and social platforms, it’s easy to feel overwhelmed by conflicting advice. Here, we cut through the noise by drawing on professional makeup insights, backstage methods, and expert-approved application tips to give you clear, practical guidance you can trust.
You’ll learn how placement, product texture, and blending strategy transform your results—plus how to adapt modern sculpting methods for everyday wear. Whether you’re refining your skills or starting fresh, this guide will help you achieve balanced, radiant definition with confidence.
The Foundation: Choosing Your Tools and Products
Cream vs. Powder
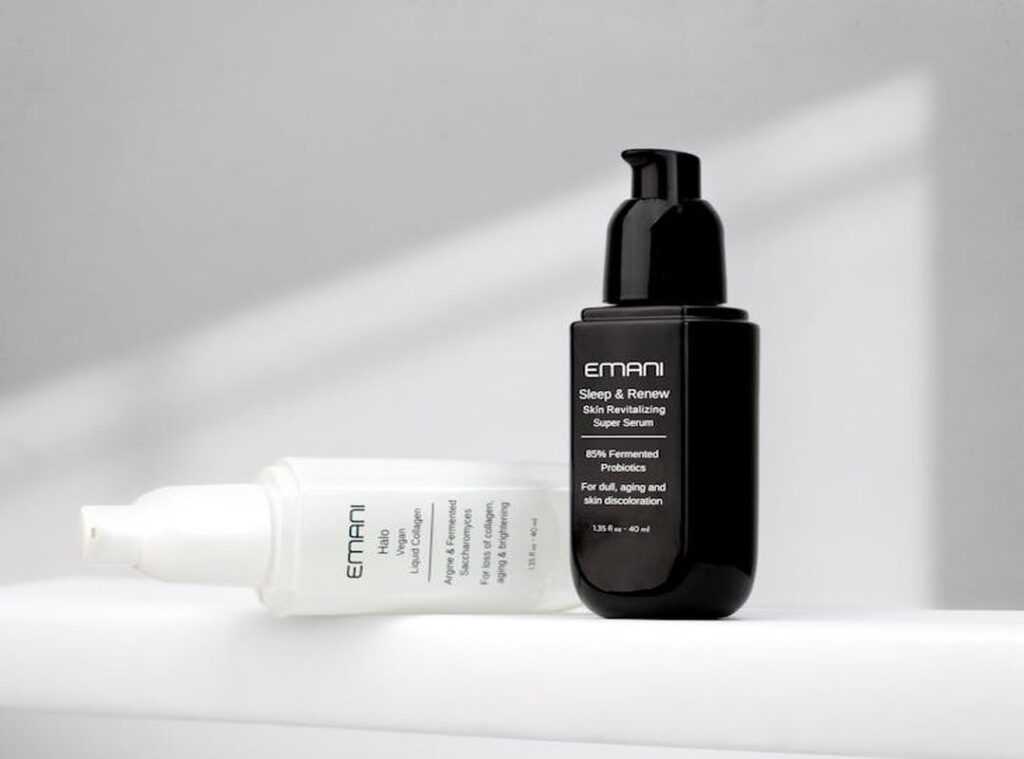
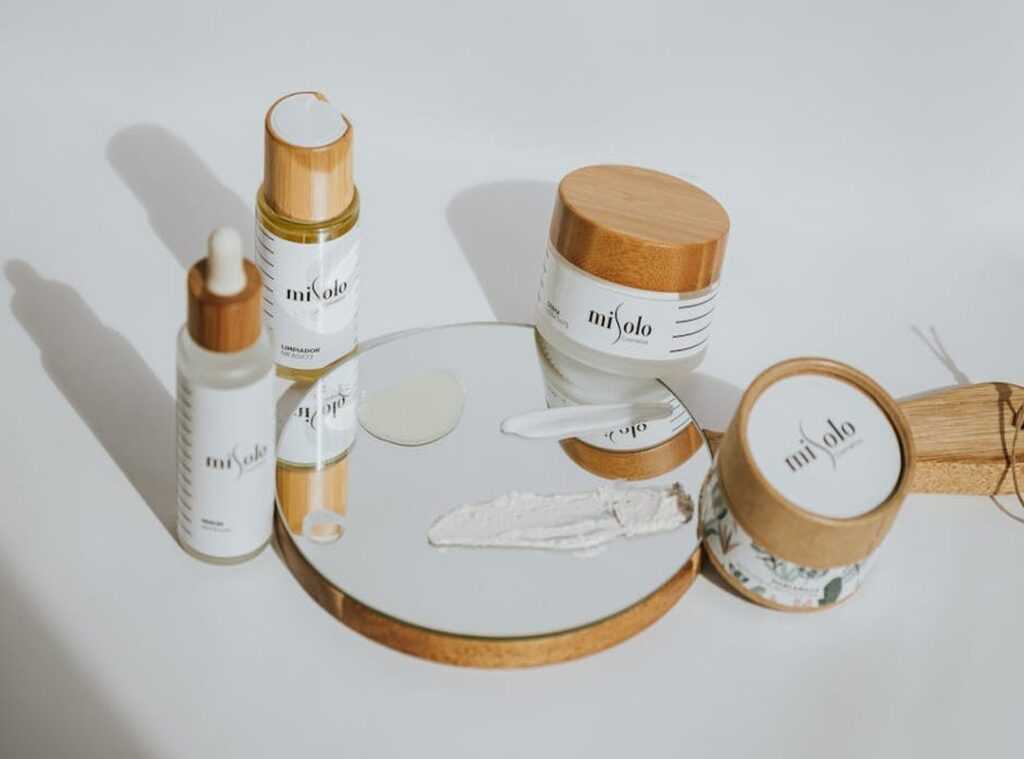
Everyone says powder is the “safer” choice because it lasts longer. I disagree—longevity means nothing if your skin looks flat by noon. Cream products melt into the skin, giving a dewy (that fresh, light-reflective glow) and natural finish that mimics real bone structure. They’re ideal for dry or mature skin because they add dimension instead of clinging to texture. Powder, on the other hand, delivers a matte (shine-free) and typically longer-lasting finish, making it a smart pick for oily or acne-prone skin. Still, don’t assume matte equals better—sometimes it just equals dull.
Finding Your Perfect Shades
For sculpting that looks believable—not muddy—choose a contour shade that’s cool-toned and two shades darker than your skin. Cool-toned means it mimics natural shadow, not bronzer warmth. Avoid orange or overly shimmery contour products (unless you’re auditioning for stage lights). Your highlight should be one to two shades lighter, with subtle shimmer or matte depending on preference. Mastering contour and highlight techniques starts with shade accuracy, not heavy application.
For more staying power tips, see this step by step guide to long lasting bridal makeup.
Essential Brushes
An angled contour brush shapes cheekbones, a small precision brush defines areas like the nose, and a fan or tapered brush diffuses highlighter seamlessly. Pro tip: blend longer than you think necessary.
Mapping Your Canvas: How to Identify Your Face Shape
I used to copy every contour tutorial I saw on TikTok. Sharp cheekbones like a Marvel heroine? Yes, please. The result? Muddy streaks and a face that looked… confused. That’s when I learned effective contouring isn’t one-size-fits-all. It’s about balance—meaning visual harmony between your forehead, cheeks, and jaw—and dimension, or the illusion of depth on a flat surface.
Before you pick up a brush, stand in front of a mirror, pull your hair back, and trace the outline of your face with a washable liner. Then compare your proportions.
-
Oval Face
Often considered balanced (think Beyoncé), the goal is subtle enhancement. Lightly sculpt under the cheekbones and illuminate the high points. Less is more here. -
Round Face
If your width and length are similar, you likely have a round shape. The aim is to create length and angles. Shade the temples, along the sides, and beneath the cheekbones to gently elongate. -
Square Face
Strong jaw? Defined forehead? You’re working with bold structure. Soften the corners of the forehead and jawline for a smoother finish. -
Heart-Shaped Face
Wider forehead, narrower chin. Add depth at the temples and hairline, then brighten the jawline and chin to create balance.
Some argue face shapes are outdated labels. Fair—but understanding structure simply guides placement. Use contour and highlight techniques strategically, not rigidly. Pro tip: blend upward for lift (gravity already does enough downward work).
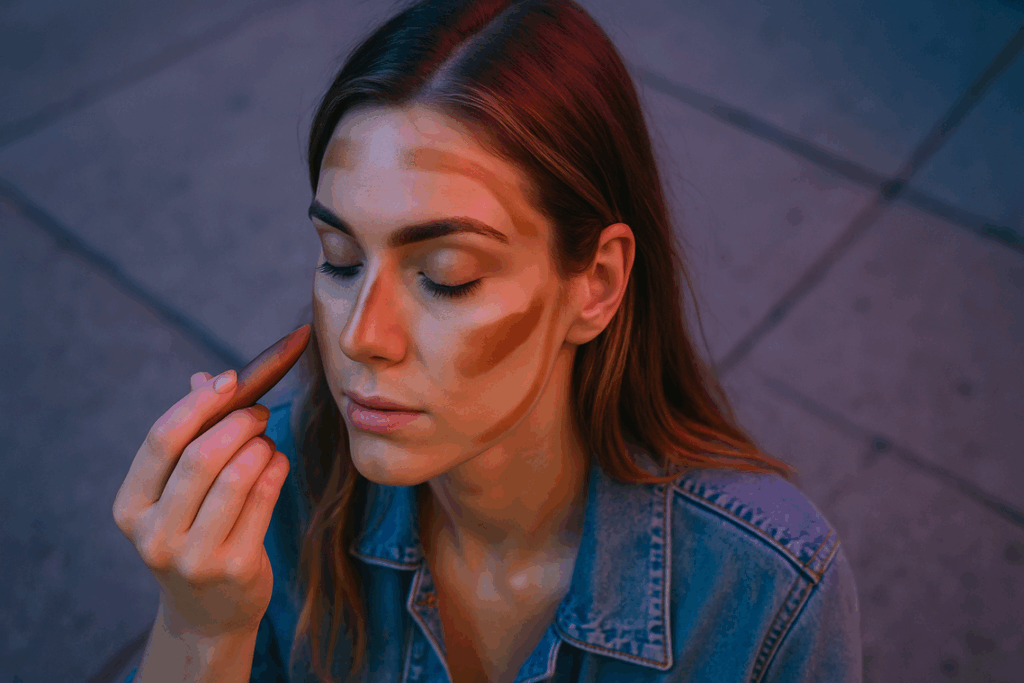
The Art of the Shadow: A Step-by-Step Contouring Guide

Contouring is the art of using shadow to reshape perception. Think of it as strategic shading—like cinematic lighting for your face (yes, very backstage-at-Fashion-Week energy).
Defining Cheekbones
Find the hollows of your cheeks using the classic “suck in your cheeks” method. Apply contour just underneath the bone, then blend upwards. Blending up lifts the face; blending down drags it (and nobody wants that). If you’re wondering how much is too much, start LIGHT—YOU CAN ALWAYS BUILD.
Sculpting the Jawline
Apply contour along the jawline and just underneath the chin to sharpen definition. Blend down the neck to avoid a harsh line. A floating jaw shadow is a dead giveaway (and not in a good way).
Refining the Nose
Draw two parallel lines down the sides of the nose bridge. Blend well to create a slimmer appearance. Keep the lines soft; harsh stripes read more costume than couture.
Minimizing the Forehead
Apply contour along the hairline to create the illusion of a shorter forehead, if desired. Focus on diffusing the edges into your roots.
If you’re thinking, “What about glow?” That’s where contour and highlight techniques work together for dimension.
Next up, consider:
- Your face shape
- Your lighting environment
- Your brush density (pro tip: denser brushes deposit more pigment)
Master shadow first. Glow follows.
Bringing Features Forward: The Magic of Highlighting
The Principle of Light
Highlighter works because it reflects light, creating the illusion of prominence and height. When light hits raised areas of the face, they appear closer and more sculpted (think of how stage lighting makes actors stand out). This is why strategic glow can subtly reshape your look without heavy makeup.
Key Placement Areas
For the most flattering effect, apply highlighter to:
- The top of the cheekbones
- Down the bridge of the nose
- The brow bone just under the eyebrow
- The inner corner of the eyes
- The cupid’s bow
These points naturally catch light, enhancing your structure when paired with contour and highlight techniques.
Application Technique
Use a light hand and build slowly. I recommend tapping product on in thin layers to avoid a stripey or overly metallic finish (no one wants to look like a disco ball). Pro tip: check your glow in natural light before heading out.
Elevate Your Beauty Routine with Confidence
You came here to finally understand how to refine your look using contour and highlight techniques, and now you have the clarity to do it with purpose. No more second-guessing placement, over-blending, or ending up with harsh lines that don’t flatter your features.
Mastering contour and highlight techniques is the difference between makeup that looks heavy and makeup that looks effortlessly sculpted. When done correctly, these methods enhance your natural structure, add dimension, and create that polished, photo-ready finish you’ve been aiming for.
If you’re tired of makeup that doesn’t quite hit the mark, it’s time to level up your routine. Explore more pro-backed tutorials, trending beauty insights, and expert-approved product picks designed to simplify your glow-up. Join thousands of beauty lovers who trust our guidance—start refining your technique today and transform the way you show up tomorrow.
 There is a specific skill involved in explaining something clearly — one that is completely separate from actually knowing the subject. Adrienne Dorseyrado has both. They has spent years working with skincare trends and innovations in a hands-on capacity, and an equal amount of time figuring out how to translate that experience into writing that people with different backgrounds can actually absorb and use.
Adrienne tends to approach complex subjects — Skincare Trends and Innovations, Spotlight Stories, Zosis Pro Makeup Techniques being good examples — by starting with what the reader already knows, then building outward from there rather than dropping them in the deep end. It sounds like a small thing. In practice it makes a significant difference in whether someone finishes the article or abandons it halfway through. They is also good at knowing when to stop — a surprisingly underrated skill. Some writers bury useful information under so many caveats and qualifications that the point disappears. Adrienne knows where the point is and gets there without too many detours.
The practical effect of all this is that people who read Adrienne's work tend to come away actually capable of doing something with it. Not just vaguely informed — actually capable. For a writer working in skincare trends and innovations, that is probably the best possible outcome, and it's the standard Adrienne holds they's own work to.
There is a specific skill involved in explaining something clearly — one that is completely separate from actually knowing the subject. Adrienne Dorseyrado has both. They has spent years working with skincare trends and innovations in a hands-on capacity, and an equal amount of time figuring out how to translate that experience into writing that people with different backgrounds can actually absorb and use.
Adrienne tends to approach complex subjects — Skincare Trends and Innovations, Spotlight Stories, Zosis Pro Makeup Techniques being good examples — by starting with what the reader already knows, then building outward from there rather than dropping them in the deep end. It sounds like a small thing. In practice it makes a significant difference in whether someone finishes the article or abandons it halfway through. They is also good at knowing when to stop — a surprisingly underrated skill. Some writers bury useful information under so many caveats and qualifications that the point disappears. Adrienne knows where the point is and gets there without too many detours.
The practical effect of all this is that people who read Adrienne's work tend to come away actually capable of doing something with it. Not just vaguely informed — actually capable. For a writer working in skincare trends and innovations, that is probably the best possible outcome, and it's the standard Adrienne holds they's own work to.